Getting Started
Starting using ncScale have never been as easy as is it now. By following this little Step-by-Step guide, you’re just a few clicks from using ncScale at it's full potential!
First step: Create an account
Your first step will be the creation of your ncScale account. On the registration page, you will be able, in one click, to create your ncScale account using your Google account, or filling the little registration form.
Second step: Choose your tool
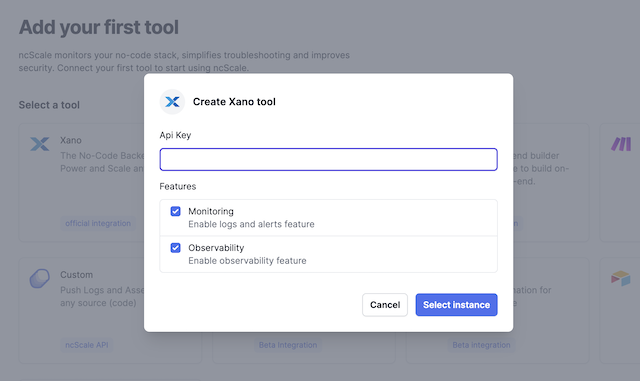
Your next step is to pick and choose the first tool you want to connect to your first ncScale application. You can choose between all the tools you see in the list, or choose the ‘Custom’ tool to use the ncScale API
When you click on one of the tool, a modal with a very little form will show up. Fill this form (if you have difficulties to find the information asked in those forms, you can check our quick tutorials), and choose which features you want to activate by clicking on the checkboxes just below the form.
Last step: Use ncScale
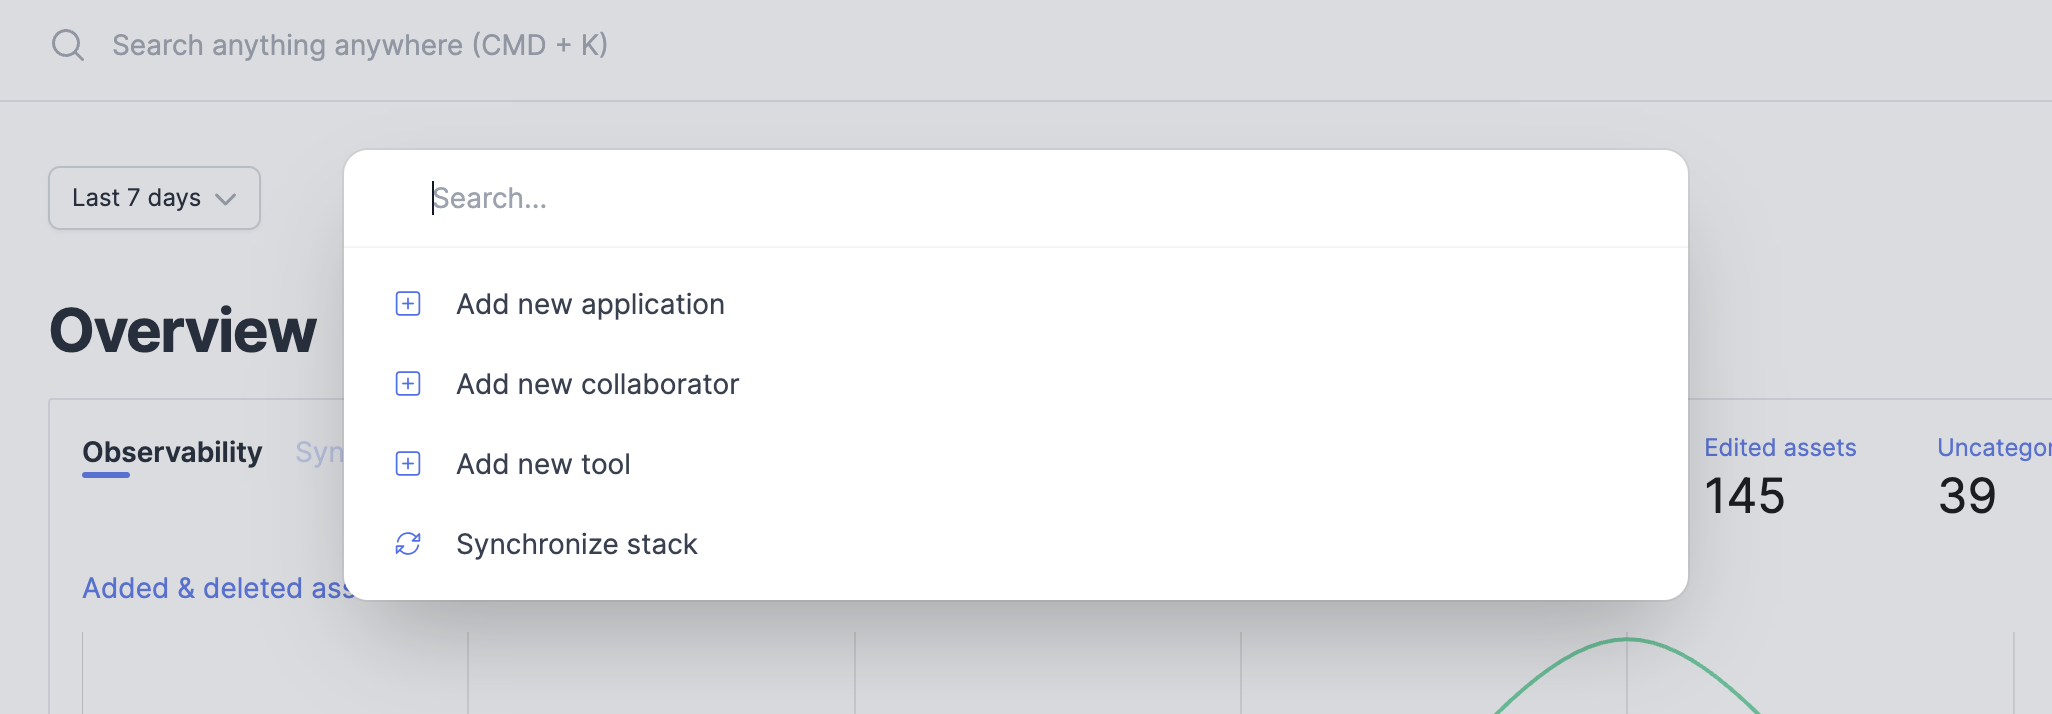
Your ncScale account is now configured and good to go! You’re not limited by the quantity of tools you want to connect to ncScale, so feel free to connect your entire stack. If you want to connect more tools, all you have to do is to press ‘CMD + K’ (or CTRL + K on Windows) and then click on ‘add new tool’!